Opacity masks offer a easy-to-edit, non-destructive way to change the transparency of your Illustrator artwork by creating shapes through which the underlying artwork is revealed and concealed.
So, when might you want to use an opacity mask?
Here are two practical examples that were adapted from questions asked on the graphic design question-and-answer site Graphic Design Stack Exchange.
Example 1: Blurring Part of an Image
Question:
How can I achieve the following effect?: I have an image that should appear in sharp focus everywhere EXCEPT for a single shape—that shape will be a blurred portion of the underlying image.

Answer:
We can achieve this effect by applying an opacity mask that uses a shape and a “blurred” duplicate of the image.
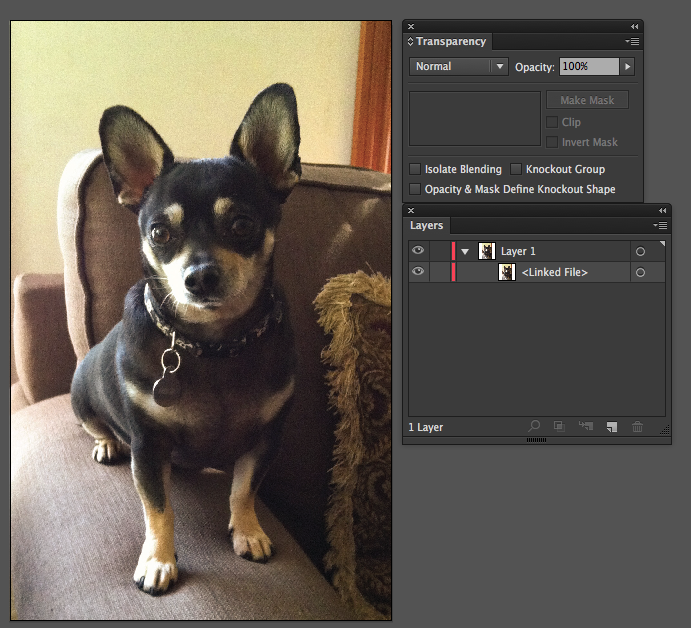
- Place an image in the Illustrator file.
-
Duplicate the image (keep original on bottom of stack).
-
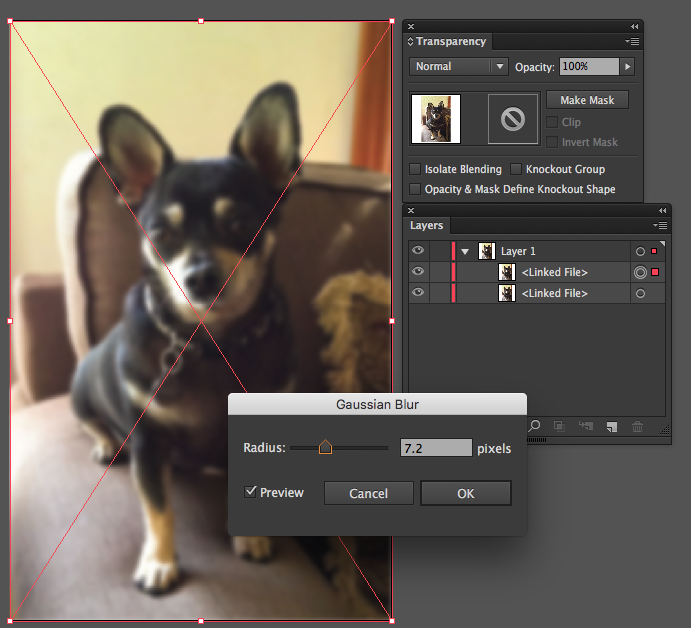
Apply a blur effect to the duplicate image. I used Effect > Photoshop Effects/Blur > Gaussian Blur.
-
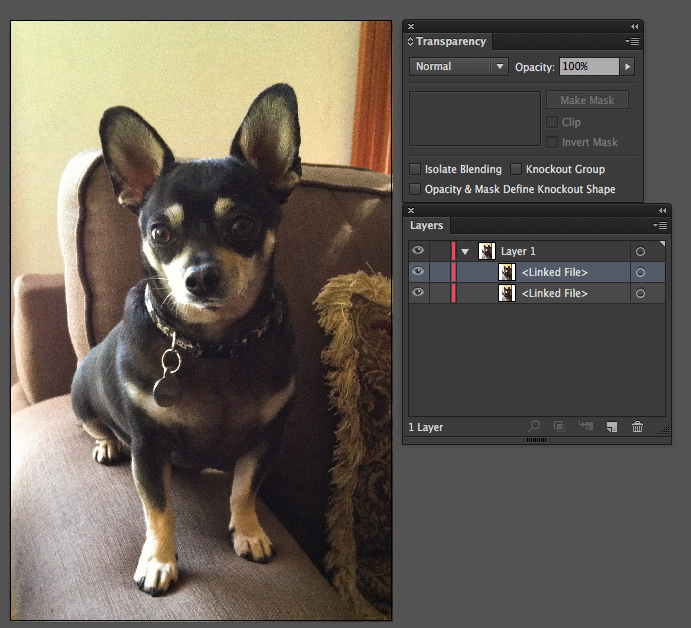
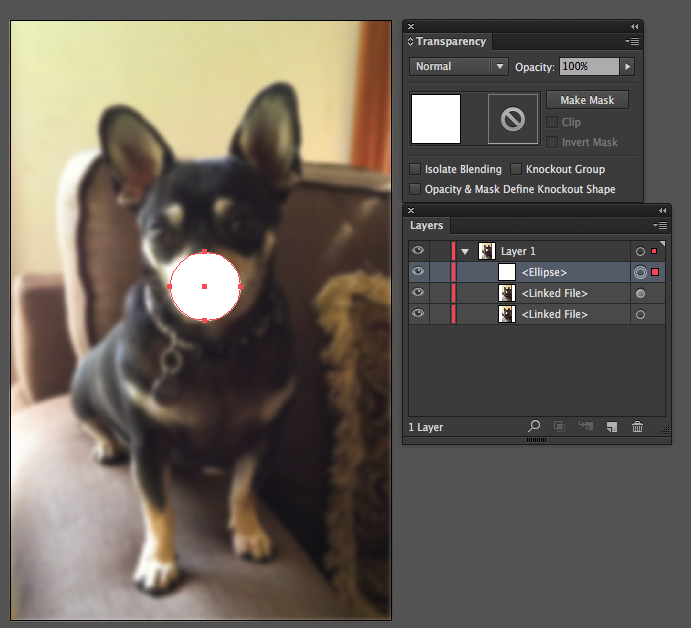
Draw a shape to be used as the masking object, using white fill and no stroke.
NOTE: Use white to fully reveal the underlying artwork. Use black to conceal the artwork. Use shades of gray (or other colors) to apply varying amounts of transparency to the artwork. Remember: “Black conceals. White reveals.”
-
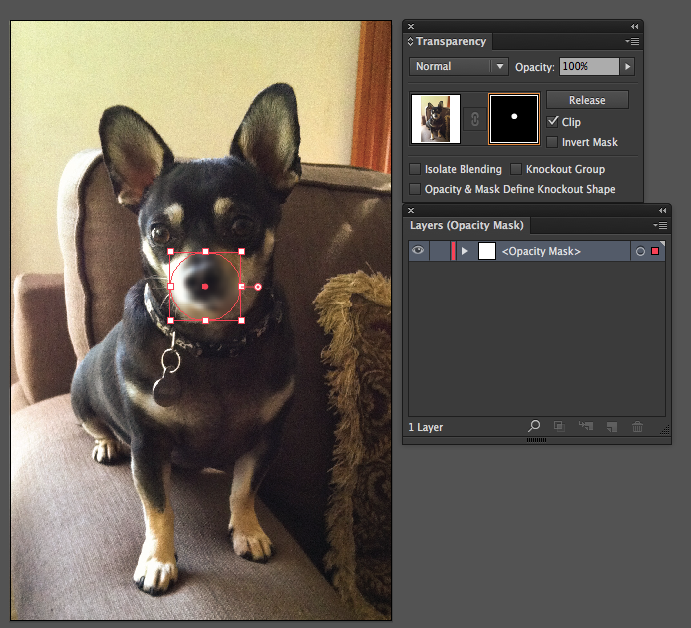
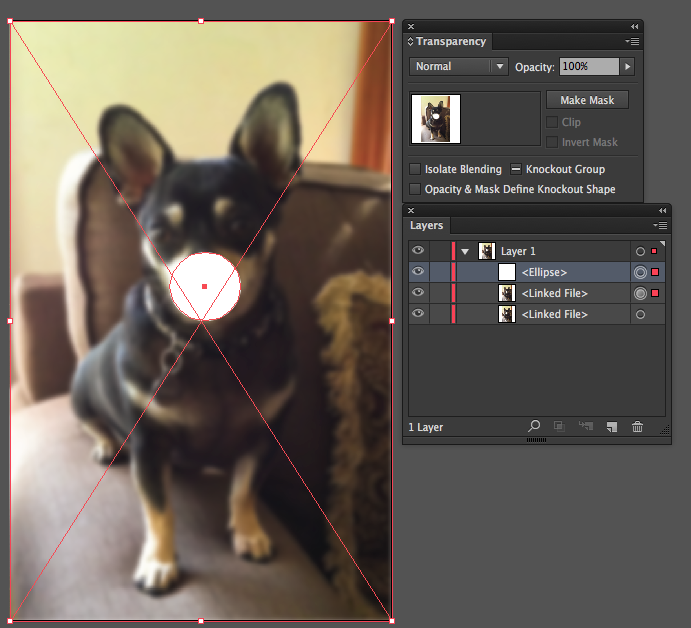
Select both the shape (I used a circle) and the duplicate image (hold Cmd/Ctrl or Shift while clicking each target selection bubble on the right side of the layers panel)
-
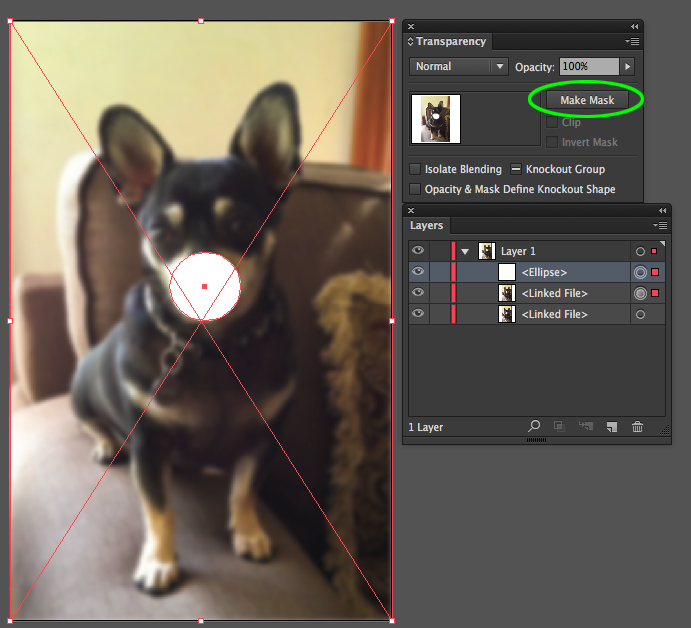
In the Transparency panel, click the Make Mask button.
-
The result is a blurred area that matches the masking object’s shape. The mask is covering all of the blurred image, except for the shaped area that was defined as the masking object.

-
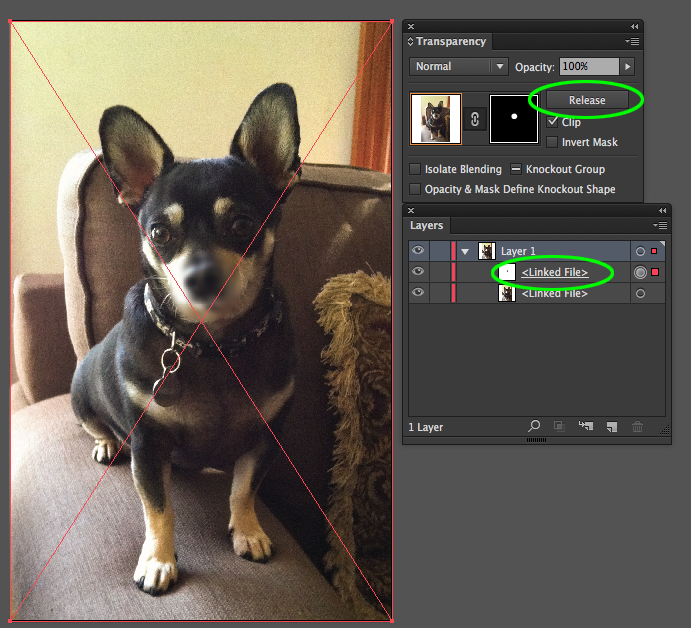
To move the masking object/shape, use the Transparency panel and click the mask thumbnail (to right of artwork thumbnail) to make it active. Then, in the active art click the center point of the shape and drag it to a new position. To switch from the mask back to the art, use the Transparency panel and click on the artwork thumbnail.

-
(optional) If you want to remove the mask or return to the original separate layers, just select the masked object from the Layers panel (look for the layer with the dash underscored name). In the Transparency panel, click the Release button to release the mask and return to two separate layers.
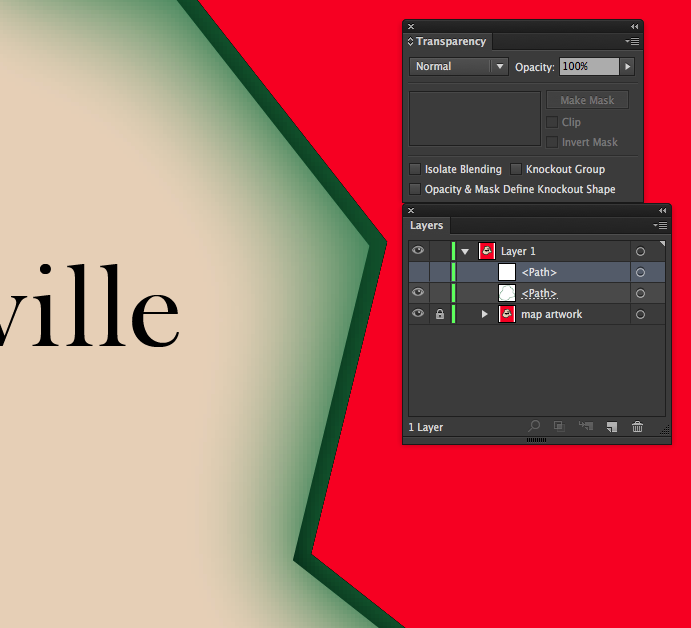
Example 2: Create a Transparent Opening and an Inner Stroke with a Gradient
Question:
I am creating a map. How do I make the inner outline of a stroke have a gradient, while still displaying the underlying map artwork?

Answer:
We can use an opacity mask to create the transparent opening and apply a gradient effect to the inner outline stroke.
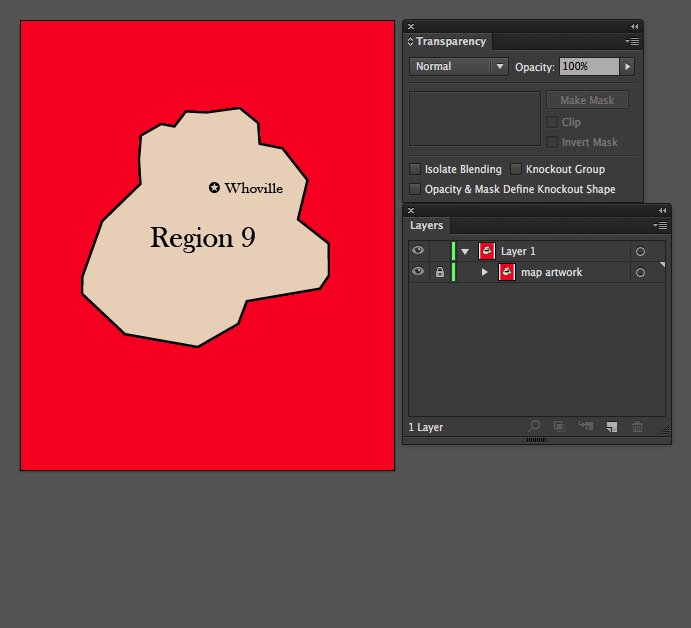
- Place the map artwork, represented here by a red background and a beige “region” containing black text, in your Illustrator file. If your map artwork was created in Illustrator as an object you can just copy the shape and use it. If the artwork is a placed Photoshop image, then either use image trace or hand draw it using the pen or pencil tool.
-
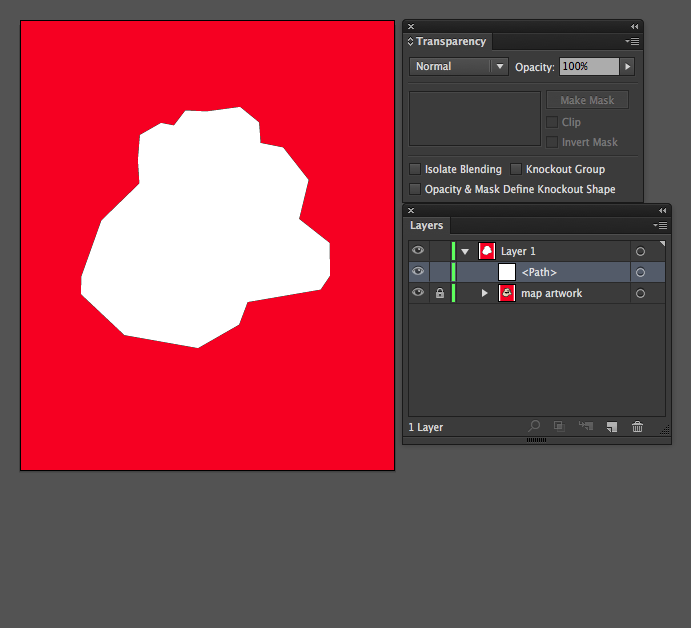
Using the map artwork as a guide, create a white fill/no stroke object.
-
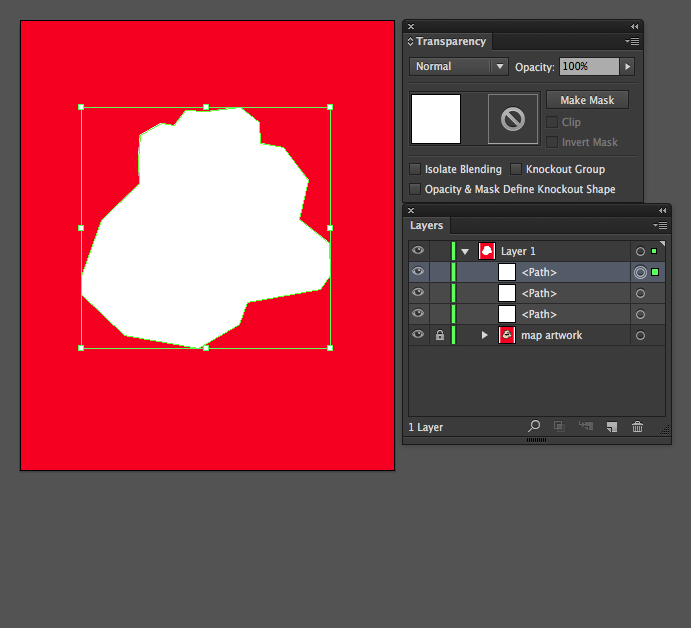
Select the white object and Copy/Paste in front (Cmd/Ctrl-C, Cmd/Ctrl-F), two (2) times. (The Layers panel will have three copies of the white object. Each object will be in the same position.)
-
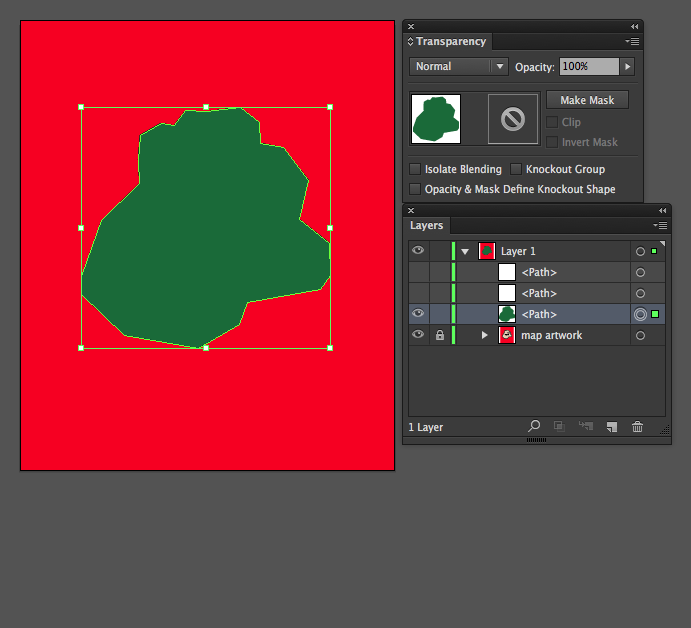
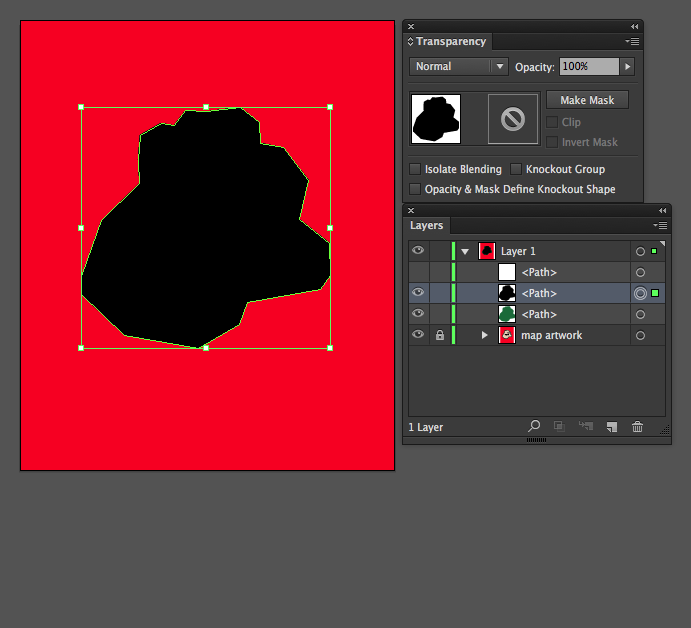
In the Layers panel, turn off visibility to the first two white objects, then select the third object (click the target selection button on the far right side) and fill it with the color that you want to appear as the inner outline gradient (I have used dark green).
-
Turn on visibility and select the second white object and fill with black (no stroke). This is the layer that will mask (conceal) the color layer and (in the next step) reveal the inner outline. Remember: “Black conceals. White reveals.”
-
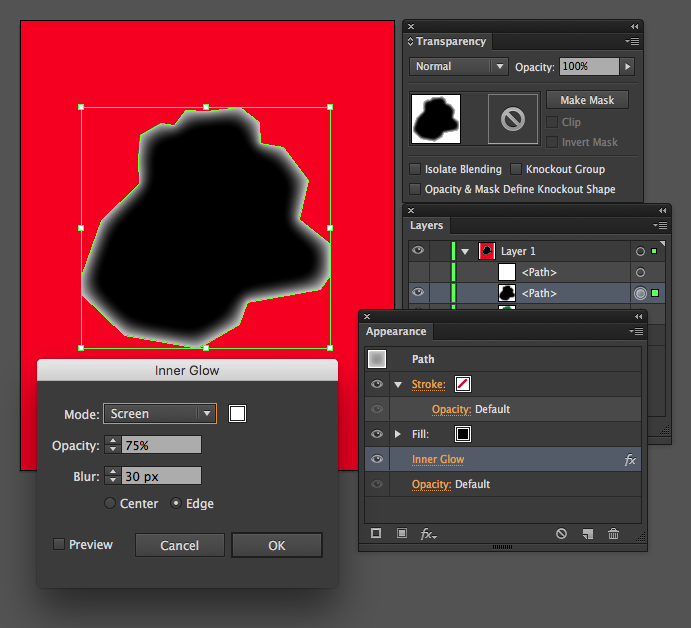
With the black object selected, use the Appearance panel to apply a Stylize > Inner Glow… effect (an inner glow is effectively a gradient that projects inward from the object’s edge). I used these settings: Mode: Screen; Opacity: 75%; Blur: 30 px; Position: Edge. Because a screen mode inner glow is being applied, we are applying varying amounts of white to the object’s edge. The white areas will reveal the green from the object it will be masking.
-
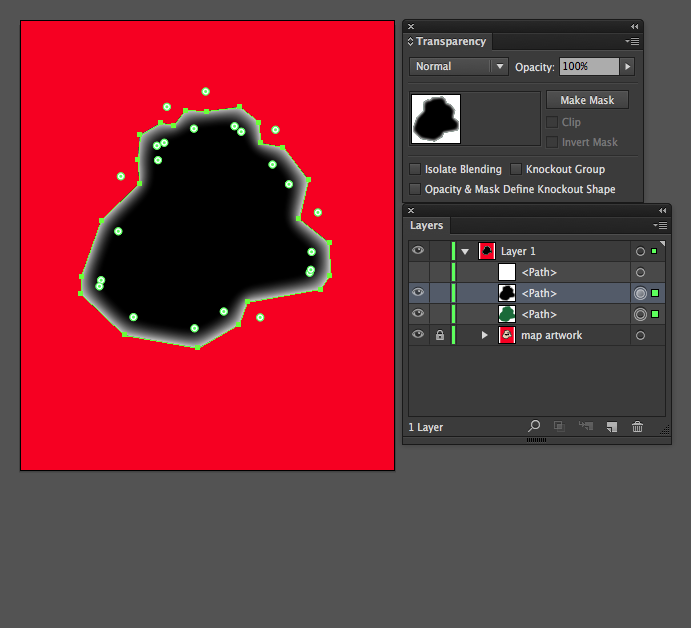
In the Layers panel, select both the black and green color objects (hold Cmd/Ctrl or Shift while clicking each target selection bubbles on the right side of the Layers panel).
-
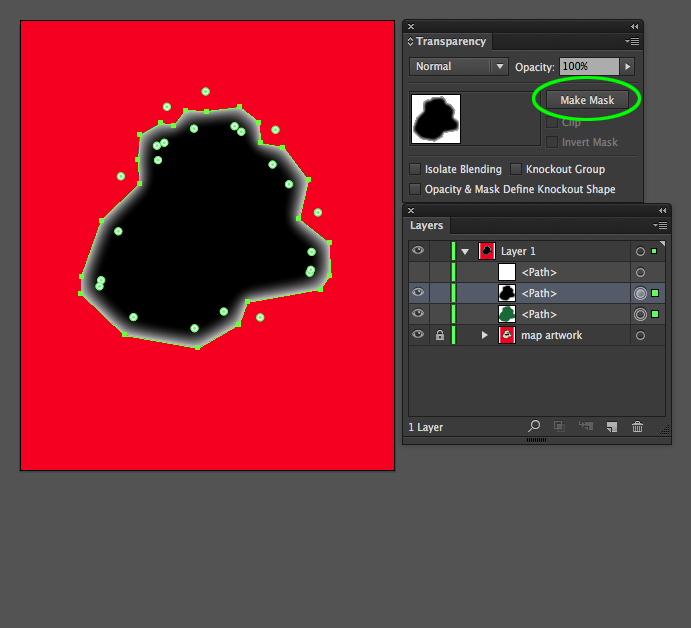
In the Transparency panel, click the Make Mask button.
-
The masking object and color object will merge into one layer with an inner glow outline that matches the desired color and reveals the underlying artwork.

-
If you look closely at the art, you’ll notice that the black border around the region is covered by the green inner glow effect.
-
In order to restore the black borders, turn on visibility to the first/top white object layer. Set fill to none and stroke to black (I used a 4 pixel stroke width to match the underlying artwork).

-
(optional) If you need to edit the color or inner glow effect settings, just select the masked object layer (with a dash underscored name). In the Transparency panel, click the Release button to release the mask and return to two separate layers.

Learn More
There are many other ways to use opacity masks, but the two previous examples will help you start to consider the creative possibilities of using this powerful tool.
For additional information about opacity masks, check out the Adobe video “How to Use Opacity Masks” and the opacity masks section of Adobe Support’s transparency and blending modes document.
If you also use Photoshop, an additional benefit of using opacity masks is that they convert to layer masks in Photoshop, and can be converted back and forth between the two applications.

Very helpful Information and Keep Sharing More.